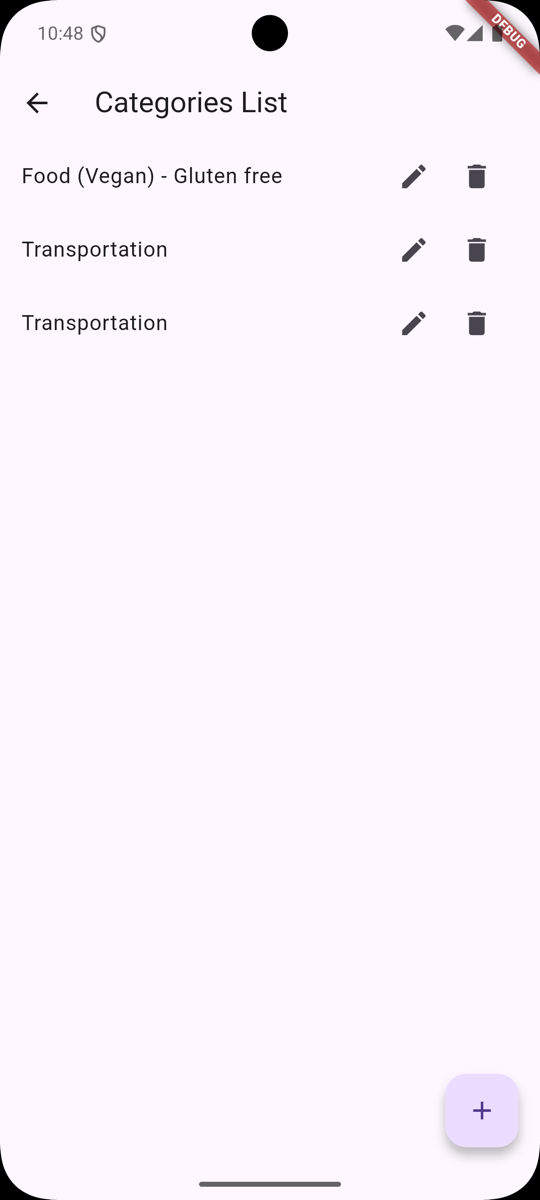
We currently have List, Edit, and Delete actions for our Categories. So, let's build the Create action:
Adding API Support
Let's start by adding the API support for creating a Category:
// ... Future<void> deleteCategory(id) async { String url = '$baseUrl/api/categories/$id'; final http.Response response = await http.delete( Uri.parse(url), ); if (response.statusCode != 204) { throw Exception('Failed to delete category'); }} Future addCategory(String name) async { String url = '$baseUrl/api/categories'; final http.Response response = await http.post( Uri.parse(url), headers: <String, String>{ 'Content-Type': 'application/json; charset=UTF-8', }, body: jsonEncode(<String, String>{ 'name': name, }), ); if (response.statusCode != 201) { throw Exception('Failed to create category'); } final Map<String, dynamic> data = json.decode(response.body); return Category.fromJson(data['data']);}There's nothing really new here. We are just sending a POST request to the API with the category name. The API will return the created category.
Updating Our Provider
Next, we need to update our Provider:
// ... Future deleteCategory(Category category) async { try { await apiService.deleteCategory(category.id); categories.remove(category); notifyListeners(); } catch (e) { print('Failed to delete category: $e'); }} Future addCategory(String name) async { try { Category addedCategory = await apiService.addCategory(name); categories.add(addedCategory); notifyListeners(); } catch (e) { print('Failed to create category: $e'); }}At this point, we should start noticing a pattern in our Provider methods. They all follow the same structure:
- Call the API service method.
- Update the local state.
- Notify the listeners.
- Catch any errors.
And, of course, the workflow that we have been following is:
- Create the API service method.
- Update the Provider method.
- Use the Provider method in the UI.
Adding Floating Button to The List
Okay, we have prepared everything we need to communicate with the API, so let's add a floating button to the list screen:
import 'package:laravel_api_flutter_app/widgets/category_add.dart'; // ... return Scaffold( appBar: AppBar( title: Text('Categories List'), ), body: ListView.builder( itemCount: categories.length, itemBuilder: (context, index) { Category category = categories[index]; return ListTile( title: Text(category.name), trailing: Row( mainAxisSize: MainAxisSize.min, children: [ IconButton( onPressed: () { showModalBottomSheet( context: context, isScrollControlled: true, builder: (context) { return CategoryEdit(category, provider.updateCategory); }, ); }, icon: Icon(Icons.edit), ), IconButton( onPressed: () { showDialog( context: context, builder: (context) { return AlertDialog( title: Text('Delete Category'), content: Text( 'Are you sure you want to delete this category?'), actions: [ TextButton( onPressed: () { Navigator.pop(context); }, child: Text('Cancel'), ), TextButton( onPressed: () { provider.deleteCategory(category); Navigator.pop(context); }, child: Text('Delete'), ), ], ); }); }, icon: Icon(Icons.delete), ), ], ), ); }, ), floatingActionButton: FloatingActionButton( onPressed: () { showModalBottomSheet( context: context, isScrollControlled: true, builder: (context) { return CategoryAdd(provider.addCategory); }, ); }, child: Icon(Icons.add), ),);},Adding Create Category Screen
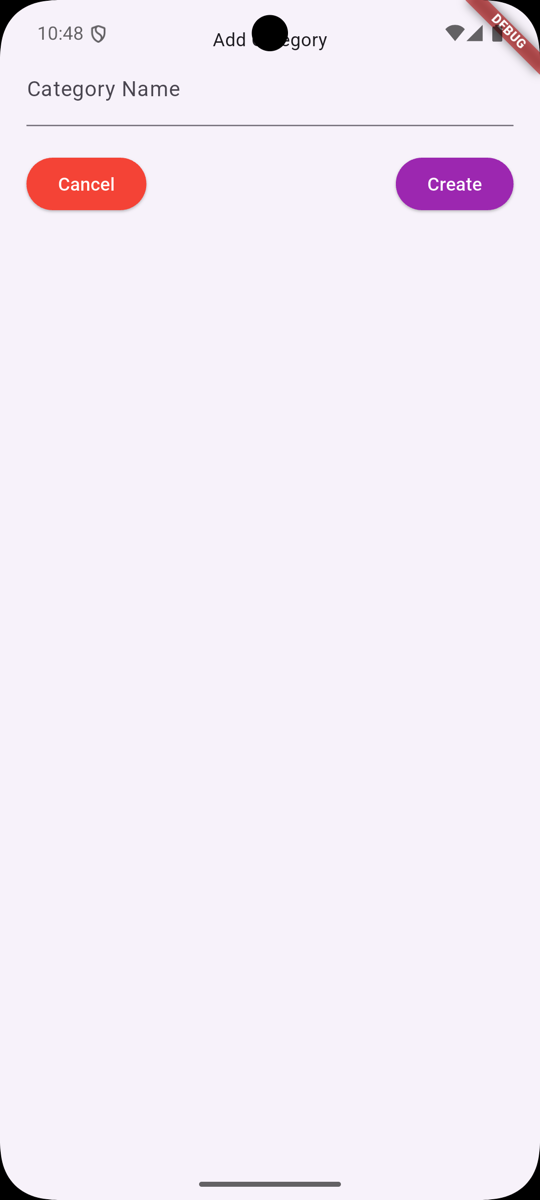
It's time to add the actual widgets/category_add.dart widget:
For this, we want you to practice a bit. Copy the widgets/category_edit.dart file and rename it to category_add.dart. Then, update the file to act as a form for creating a category:
- Rename the Classes
- Remove
categoryfrom the constructor (and property) - Remove
widget.categoryand all of its references - Change the callback parameter to include
nameinstead ofcategory - Update the Buttons
Once these are completed and you are ready to test - you should modify Laravel code a little bit:
app/Http/Controllers/CategoryController.php
// ... public function store(StoreCategoryRequest $request): CategoryResource { $category = auth()->user()->categories()->create($request->validated()); $category = Category::create($request->validated()); return new CategoryResource($category); } // ...Now, you should be able to create categories from the Flutter app:
Of course, if you are stuck somewhere - here's the complete widgets/category_add.dart:
import 'package:flutter/material.dart';import 'package:laravel_api_flutter_app/services/api.dart'; class CategoryAdd extends StatefulWidget { final Function categoryCallback; const CategoryAdd(this.categoryCallback, {super.key}); @override CategoryAddState createState() => CategoryAddState();} class CategoryAddState extends State<CategoryAdd> { final GlobalKey<FormState> _formKey = GlobalKey<FormState>(); final categoryNameController = TextEditingController(); ApiService apiService = ApiService(); String errorMessage = ''; Future saveCategory(context) async { final form = _formKey.currentState; if (!form!.validate()) { return; } await widget.categoryCallback(categoryNameController.text); Navigator.pop(context); } @override void initState() { super.initState(); } @override Widget build(BuildContext context) { return Container( padding: EdgeInsets.all(20), child: Form( key: _formKey, child: Column( children: [ Text('Add Category'), TextFormField( decoration: InputDecoration( labelText: 'Category Name', ), controller: categoryNameController, validator: (String? value) { if (value == null || value.isEmpty) { return 'Please enter category name'; } return null; }, onChanged: (String value) { setState(() { errorMessage = ''; }); }, ), Padding( padding: EdgeInsets.only(top: 20), child: Row( mainAxisAlignment: MainAxisAlignment.spaceBetween, children: [ ElevatedButton( onPressed: () => Navigator.pop(context), style: ElevatedButton.styleFrom( backgroundColor: Colors.red, foregroundColor: Colors.white, ), child: Text('Cancel'), ), ElevatedButton( onPressed: () { saveCategory(context); }, style: ElevatedButton.styleFrom( backgroundColor: Colors.purple, foregroundColor: Colors.white, ), child: Text('Create'), ), ], ), ), Text( errorMessage, style: TextStyle(color: Colors.red), ), ], ), ), ); }}That's it! You have successfully implemented the Create action for Categories.
In the next lesson, we will start implementing some authentication features. Specifically Registration.
Check out the GitHub Commit for this lesson.